Let's walk through it step by step.
Key Takeaways
Size for maturity, not seedlings: Calculate your required footprint based on the final size of your plants, plus the floor space needed for pots, humidifiers, and fans.
Account for vertical clearance: Inline fans, carbon filters, and the required distance between your grow light and plant canopy will consume significant overhead space. Don't underestimate height requirements.
Match your tent to your light: Base your tent footprint on the optimal coverage area of your primary grow light, rather than choosing a tent size first.
Prioritize structural integrity: To maintain strict climate control and prevent light leaks, look for thick, light-blocking fabric, heavy-duty zippers, and a sturdy steel frame that can support the weight of all your hanging equipment.
Step 1: Figure Out What You're Actually Growing Before You Shop
Before you look at a single tent size or spec sheet, answer these questions honestly. They will save you money and frustration later.
What and how much are you growing?
- Are you growing one plant or several?
- Leafy greens and herbs, or larger flowering plants like tomatoes, peppers, or cannabis?
- Which growth stage do you need the tent for — seedling/clone, vegetative, or flowering/fruiting? Different stages need very different amounts of vertical and horizontal space.
How large will your plants be at maturity?
- Don't size your grow tent based on seedlings or young plants alone. Consider how tall and wide your plants will be when fully grown, and leave enough room for pots, grow lights, ventilation equipment, and maintenance.
- Choosing a tent based on your plants' mature size helps prevent overcrowding and gives you more room to manage your plants as they grow.
How much space do you actually have?
- Measure the room where the tent will go — not just floor space, but ceiling height too.
- Leave enough clearance around the tent for ventilation, cables, equipment access, and comfortable maintenance.
- Check that you have accessible power outlets and enough electrical capacity for your planned lights, fans, humidifiers, dehumidifiers, and other equipment.
What environment will the tent live in?
- Room temperature and humidity affect how hard your ventilation needs to work.
- If the tent is going in a bedroom or living room, noise from fans and inline ducting matters a lot more than if it's in a garage or spare closet.
What equipment do you have — or plan to get?
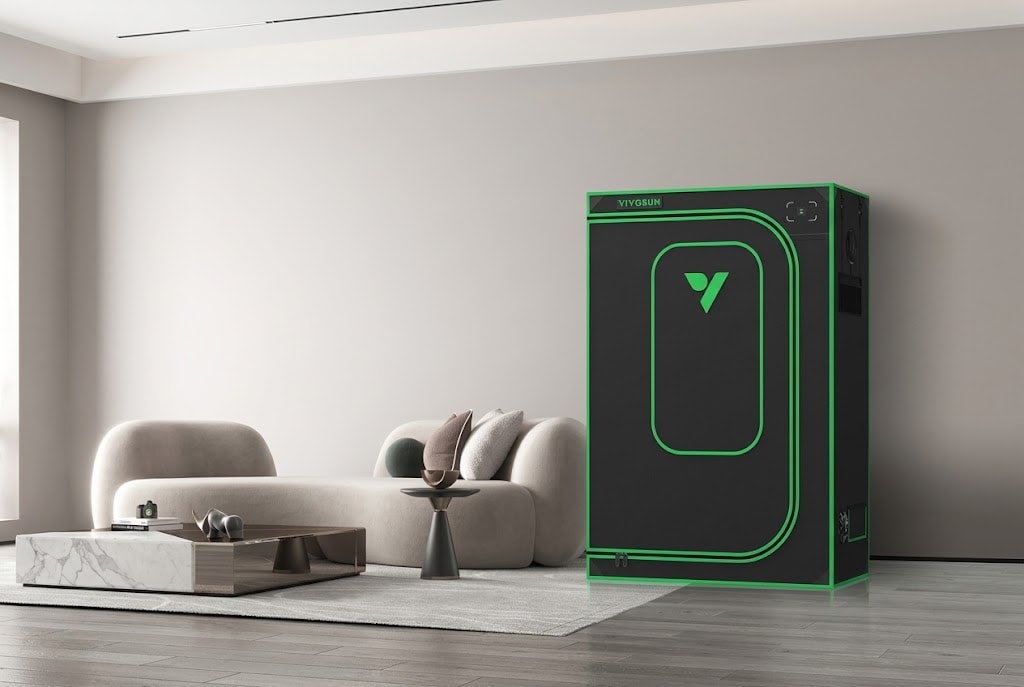
- If you already own a grow light, check its recommended coverage area and physical dimensions before choosing your tent. Your tent size and light coverage should be matched rather than chosen independently.
- Think ahead: do you plan to add an inline fan, carbon filter, humidifier, or additional lights later? Build in room to grow into your setup rather than out of it.
What's your budget?
- Are you testing the hobby with a low-risk setup, or committing to grow long-term?
- Will you buy piece-by-piece, or is a bundled kit more practical for you right now?
Once you have honest answers to these questions, you're ready to look at tent types.
Step 2: Choose the Right Type of Grow Tent
Grow tents aren't one-size-fits-all. Here are four common grow tent options to consider.
| Tent Type | Best For | Advantages (Pros) | Watch Out For (Cons) |
|---|---|---|---|
| Small /Propagation (Seedling & Clone Tents) | Seeds, rooting clones, or compact plants (herbs/microgreens). | • Compact & budget-friendly • Fits tight spaces easily • Great climate control for seedlings | • Limited headroom • Plants outgrow it fast (nursery stage only) |
| 2-in-1/Multi-Chamber (Partitioned Tents) | Running vegetative and flowering stages side-by-side. | • Allows staggered perpetual harvests • Space-efficient (2-in-1 footprint) • Cheaper than buying two tents | • Smaller space per chamber • Requires dual lighting & ventilation setups |
| Small-to-Medium (2x2, 2x4, 3x3, 4x4) | Standard home grows, from a single plant up to a medium canopy. | • Fits standard bedrooms or closets • Widest range of compatible equipment • Room for full seed-to-harvest cycle | • Easy to overcrowd (must leave space for airflow & light access) |
| Large Tents (5x5 and up) | Scaling up yields or running multiple plants per cycle. | • Maximum yield potential • Fits multiple lights & heavy-duty fans • Better long-term value for serious growers | • Requires powerful (and costlier) ventilation • Demands significant floor space |
Step 3: Pick the Right Size and Height
A quick sizing reference
| Tent Size | Approx. Footprint | Typical Use* | Good For |
|---|---|---|---|
2x2 ft  | 4 sq. ft. | 1 plant (large pot) or 2 small pots | Clones, herbs, single plant |
2x4 ft 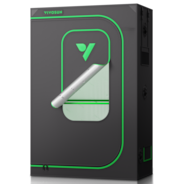 | 8 sq. ft. | 2–4 plants | Small personal grows |
3x3 ft 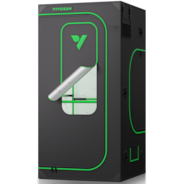 | 9 sq. ft. | 2–4 plants | Beginners wanting a bit more room |
4x4 ft 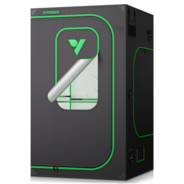 | 16 sq. ft. | 4–6 plants | Most popular all-around size |
5x5 ft 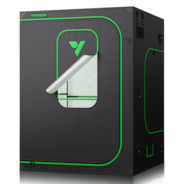 | 25 sq. ft. | 6–10 plants | Larger single-space setups |
8x4 ft 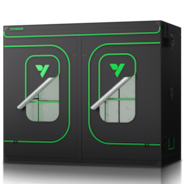 | 32 sq. ft. | 8–16 plants | Growers scaling up |
10x5 ft 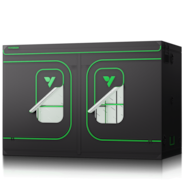 | 50 sq. ft. | 16-32 plants | Experienced growers, larger home gardens, and growers planning to scale up |
10x10 ft 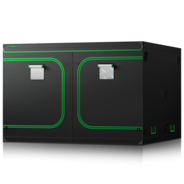 | 100 sq. ft. | 24-40 plants | Advanced and experienced growers |
You can also choose from a wider range of tent sizes according to your actual needs, allowing you to fully unleash your creativity.
*Plant counts vary widely based on pot size (typically 3–7 gallon), training method (SOG, SCROG, topping), and plant type — use this as a rough starting point, not a hard rule.
Bigger isn't automatically better
It's tempting to size up "just in case," but a tent that's too big for your room, your ventilation, or your ability to manage plants creates more problems than it solves — higher energy costs, harder-to-control climate, and more physical space wasted on empty tent floor.
Two practical rules of thumb:
- Plan for mature plant size, not seedling size. A plant that looks tiny at 2 weeks can double or triple in width by flowering.
- Your real usable space = tent footprint minus equipment space. Pots, fans, filters, and ducting all eat into your growing area, so don't calculate space assuming the entire footprint is available for plants.
Why height matters as much as footprint
Height is one of the most overlooked specs, and it shouldn't be.
- Inline fans, ducting, and carbon filters are usually mounted near the top of the tent and take up several inches (sometimes a foot or more) of vertical space before you even hang a light.
- You need clearance between your light and the plant canopy — The recommended distance between a grow light and the plant canopy varies by light model, intensity, plant type, and growth stage. Always follow the manufacturer's recommended hanging height.
- Leave headroom for training and airflow above the final canopy height, especially for plants that stretch significantly during flowering.
A tent that looks "tall enough" empty can feel cramped fast once a light, ducting, and a fully grown plant are all inside it.
Step 4: Evaluate Tent Quality — Fabric, Frame, and Details
Once you know your size and type, it's time to look under the hood. This is where ordinary tents and quality tents really start to differ.
Not every feature carries the same weight. Start with the fundamentals — light blocking, structural stability, fabric durability, and equipment compatibility — then consider convenience features such as windows and storage.
1. Fabric Thickness and Fabric Rating
Grow tent fabric is usually measured in denier (D) — one indicator of fabric construction and durability:
- Durability and tear resistance matter more if you have pets, kids, or plan to move the tent often.
- Light-blocking (blackout) quality is essential — any light leaks during the dark cycle can stress flowering plants.
- A well-sealed tent helps create a more controllable growing environment, but temperature and humidity still depend heavily on ventilation and climate-control equipment.
- Very thick fabric adds weight and can make the tent harder to fold, store, or transport — consider your actual use case.
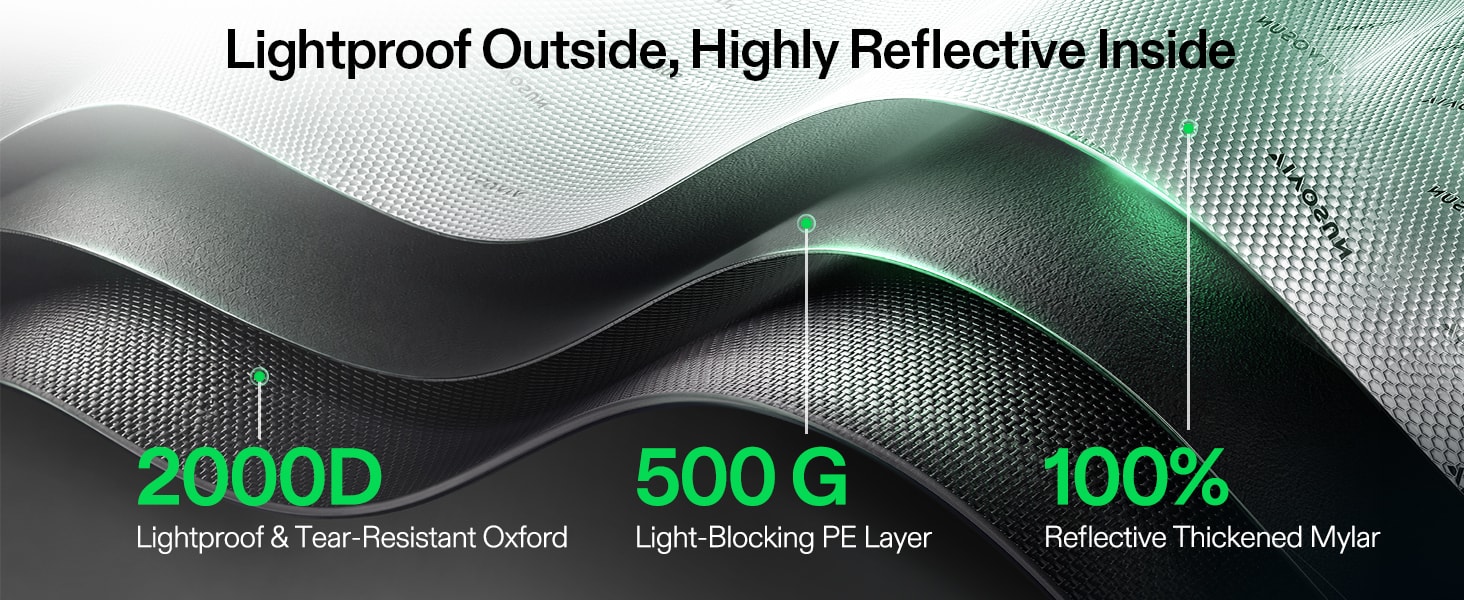
Also check that the outer fabric is waterproof and mold/mildew resistant, especially if you're running humidifiers or hand-watering inside the tent.
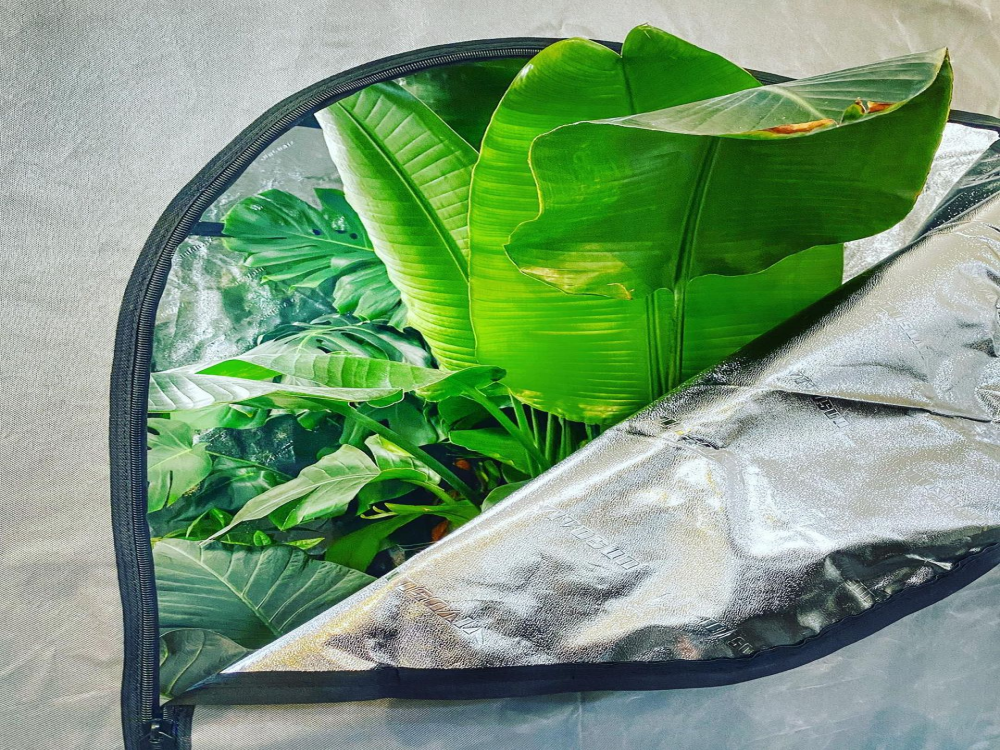
2. Interior Reflective Material
Most quality tents line the interior with reflective mylar. A few things separate a good lining from a mediocre one:
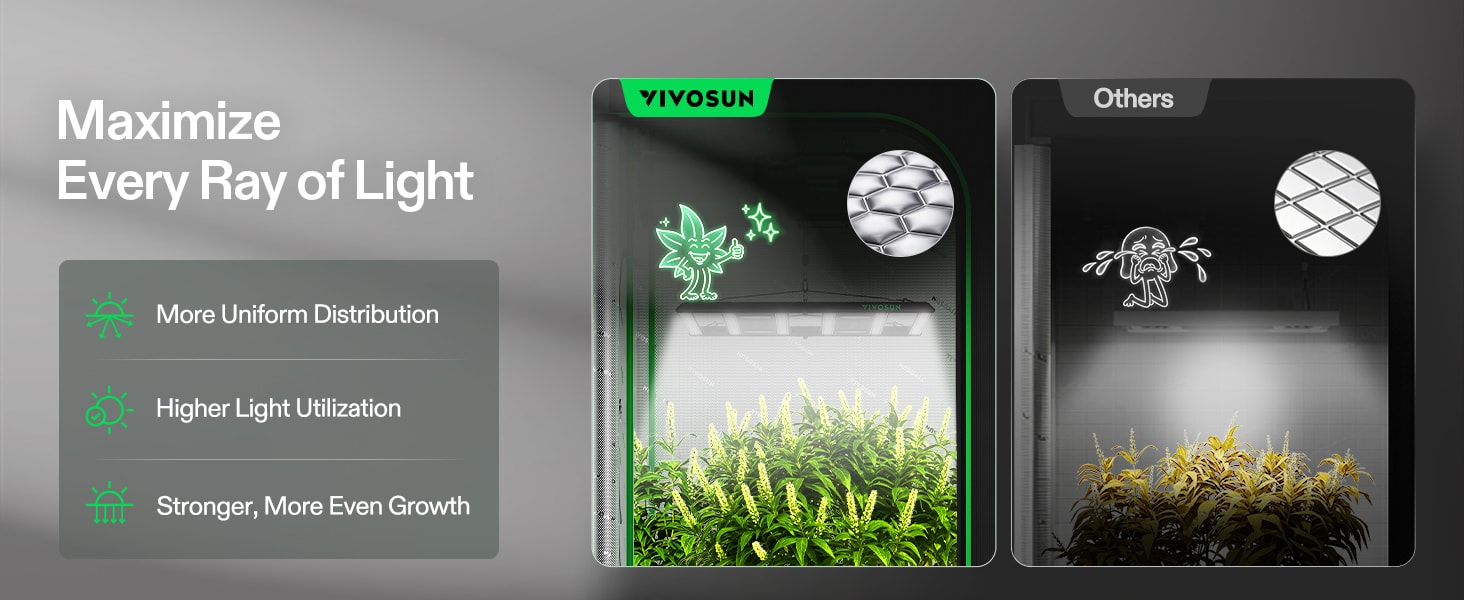
- Reflectivity/light utilization — a higher-quality, diamond-textured or highly reflective mylar bounces more light back onto the plant canopy instead of absorbing it.
- No light leaks at the seams — check stitching and seams for gaps.
- Easy to wipe clean — matte or textured surfaces that don't hold dust and residue make maintenance easier.
- Long-term durability — cheaper reflective coatings can peel, flake, or dull over months of heat exposure; better materials hold their reflectivity over years of use.
3. Frame and Structure
The frame is what keeps your tent (and everything hanging inside it) standing.
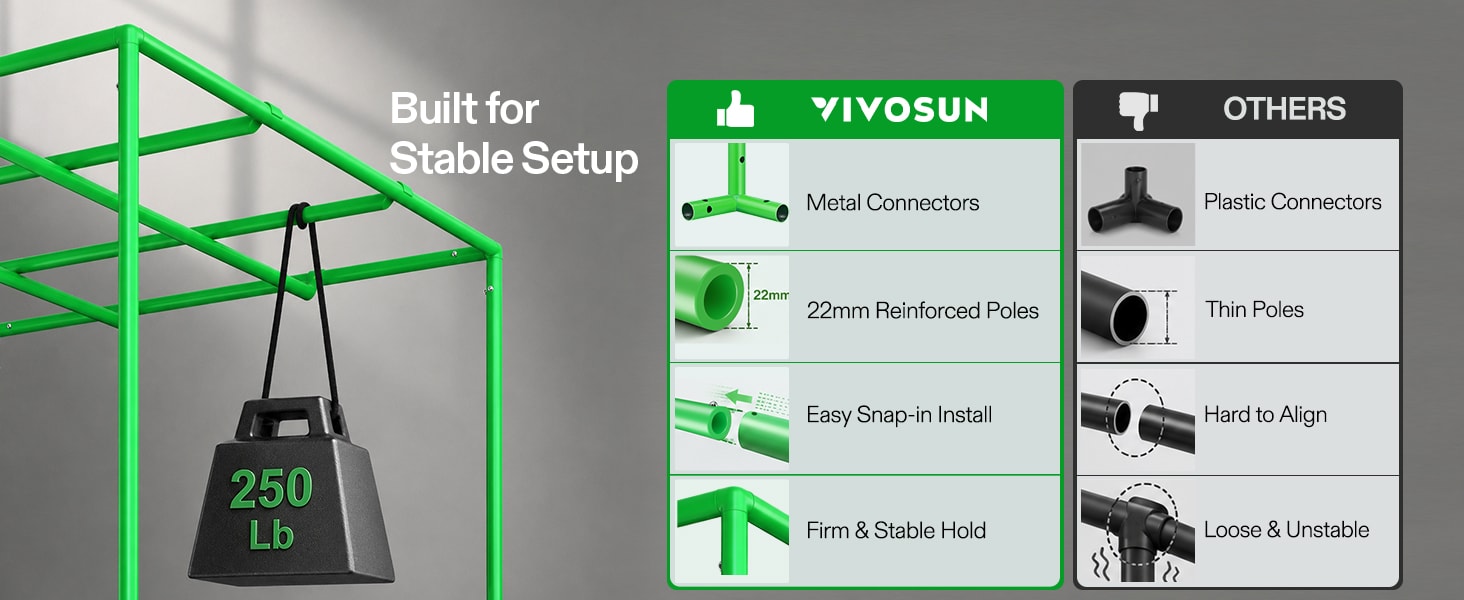
- Pole material: Steel poles offer a better stability and weight capacity for hanging lights, fans, and trellis netting. Lighter materials may be easier to transport but can flex or sag under load over time.
- Pole diameter: Poles that are too thin can bend or bow; poles that are too thick can eat into usable interior space and make assembly bulkier.
- Connectors and joints: Connector construction affects frame stability, especially on larger tents.
- Overall stability: Look at how the frame distributes weight — a well-braced structure with proper cross-supports will feel noticeably more rigid than a bare rectangular frame.
- Support bars for hanging equipment: Confirm the tent has reinforced crossbars rated to hold the combined weight of your lights, fans, and any trellis netting you plan to use.
4. Zippers and Seals
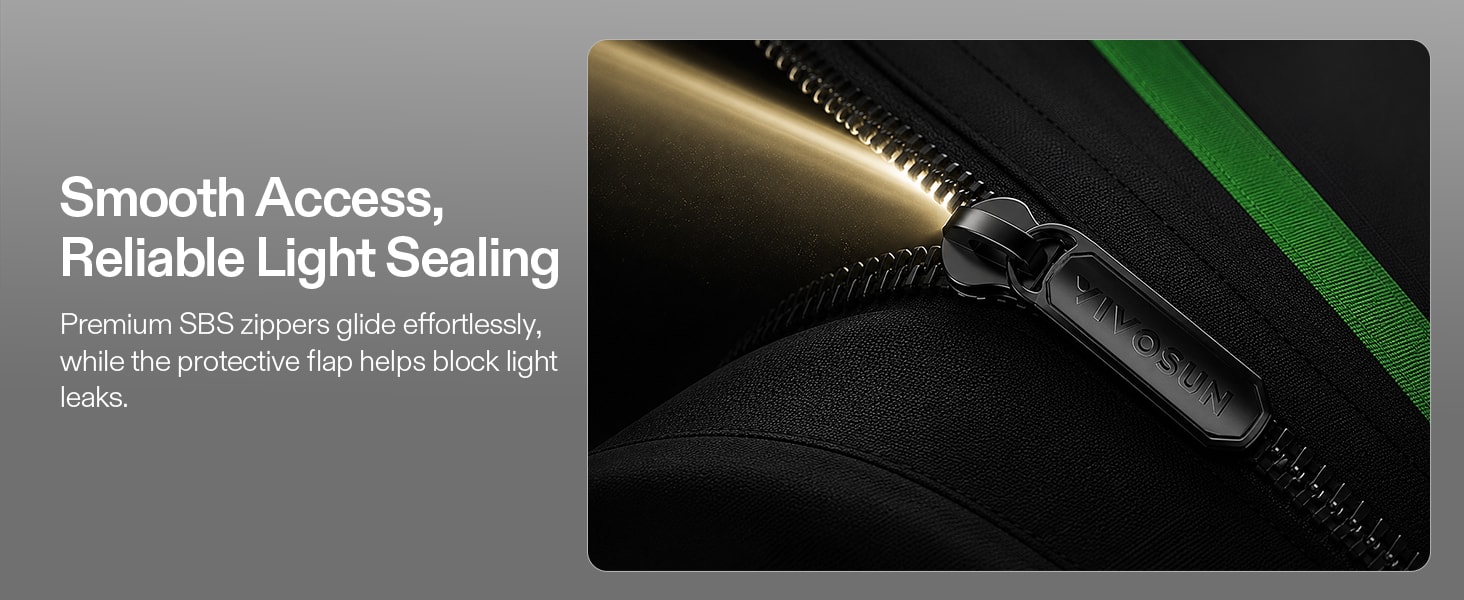
Zippers are one of the components worth paying close attention to because they are opened and closed frequently.
- Test (or read reviews on) how smoothly the zipper glides — sticking or snagging zippers wear out fast.
- Double-stitched, heavy-duty zipper construction lasts longer under repeated daily opening/closing.
- Check whether the zipper and seams close securely enough to minimize light leakage and help maintain a controlled environment.
5. Ports and Equipment Compatibility
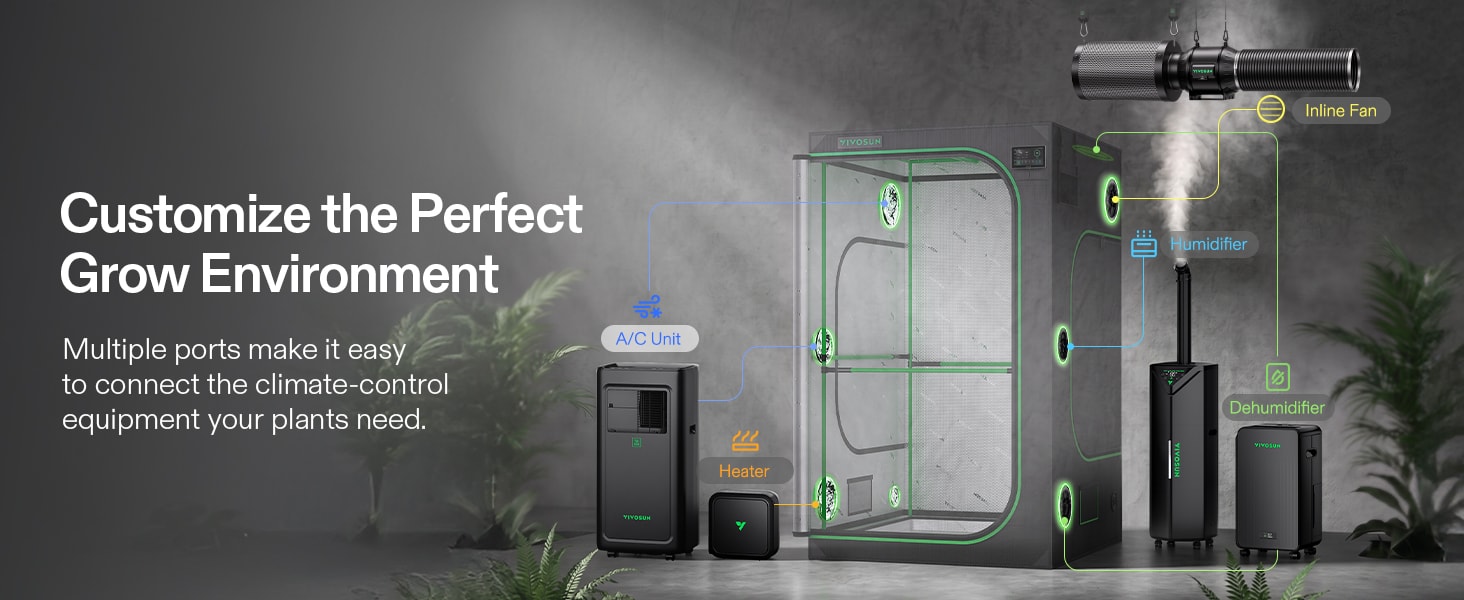
Ports are where cables, ducting, and cords pass through the tent wall.
- Number of ports: More ports give you flexibility for multiple fans, cords, and sensors without improvising extra holes.
- Port size and placement: Make sure port diameters match your ducting size (commonly 4″ or 6″), and that ports are positioned conveniently relative to where your fan and filter will actually sit.
- Sealing when in use and unused: Ports should cinch tightly around cables/ducting to prevent light and odor leaks, and unused ports should seal completely closed rather than leaving gaps.
6. Observation Windows
A good window means fewer unnecessary door openings, which helps stabilize the internal environment.
- Number and placement — side windows near canopy height are the most useful for checking plant health without disturbing the tent.
- Light-blocking — the window flap should seal as tightly as the rest of the tent when closed.
- Easy to clean — mesh and clear panels can collect dust; look for materials that are simple to wipe down or vacuum.
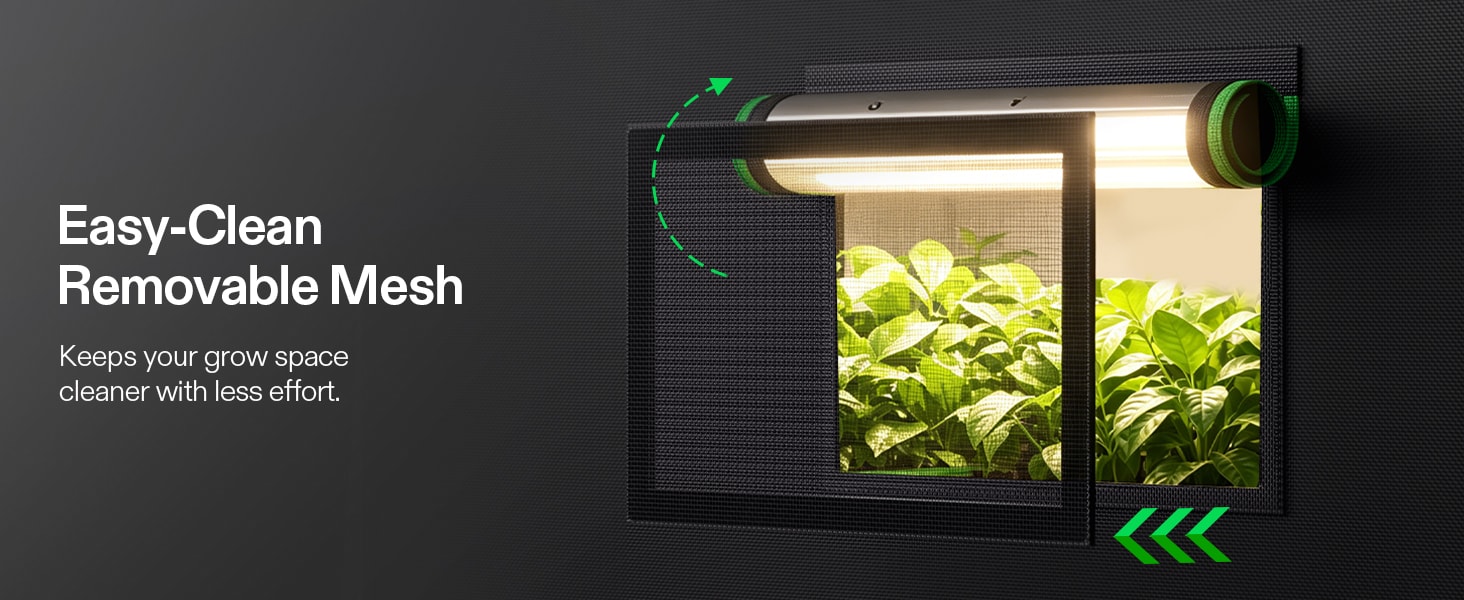
7. Setup, Cleaning, and Maintenance
Don't overlook the day-to-day practicality of living with the tent.
- Assembly difficulty: Can one person set it up, or will you need a second pair of hands? Does it require special tools, or does it snap/pole together easily?
- Take-down and storage: Larger tents should still fold down reasonably compactly for off-season storage or moving.
- Replaceable parts: Tents with readily available replacement poles, connectors, or floor trays save you from buying an entirely new tent over one broken part.
Step 5: Balance Your Budget With Your Long-Term Growing Plans
Are you a beginner or a more experienced grower?
- Beginners on a tighter budget: A pre-configured grow tent kit is a convenient option for beginners seeking a simpler setup. It removes the guesswork of matching components and is usually more cost-effective than buying them separately.
- More experienced growers face a different choice: upgrade equipment inside your current tent, or move up to a larger, multi-space setup for higher yield and more flexibility.
Current needs vs. long-term needs
Think beyond your first grow cycle:
- Will you likely add more plants, more lights, or more equipment in future cycles?
- Leaving a little extra port capacity and floor space now can save you from replacing the whole tent in six months.
Total cost of ownership
The tent price tag is only part of the picture:
- Factor in the ongoing cost of lights, fans, filters, and any future upgrades.
- Choosing components designed to work together can simplify compatibility, setup, and future expansion. Buying within one connected product ecosystem (matching tent, light, and ventilation from the same brand line) often reduces compatibility headaches and can save you time and money compared to piecing together mismatched components.
By this point, you should have a clear picture of the tent type, size, height, and quality level that fits your grow — and a realistic sense of what it will cost to run it well.
Frequently Asked Questions
What size grow tent is best for beginners? There isn't one best size for every beginner. A 2x2 or 2x4 can be easier to manage for a small setup, while a 3x3 or 4x4 offers more room for plants and equipment. Choose based on your available space, plant size, equipment, and future plans.
How do I choose the right equipment to go with my tent? Start with your light — measure its footprint and choose a tent sized around it, not the other way around. Then size your inline fan and ducting to your tent's volume, and choose a carbon filter that matches your fan's CFM rating. If you're unsure, a bundled grow tent kit designed around a specific tent size takes the guesswork out of matching components.
What should I do if my tent's zipper breaks? First check whether the zipper pull, teeth, or slider is the actual point of failure — sometimes a replacement zipper slider is enough to fix it without replacing the tent. If the tent is still under warranty, contact the manufacturer's support team first, since many brands offer replacement parts or repairs rather than requiring a full tent replacement.
Do I need a separate tent for seedlings and for the grow stage? Not necessarily. Many growers use a single tent for the entire cycle by adjusting light height, spacing, and plant placement as plants grow. A dedicated small propagation tent is a nice-to-have if you want to keep starting seedlings while a main tent is mid-flower, but it isn't required for most home setups.
When should I upgrade to a new or bigger tent? Consider upgrading when: your current tent's canopy is consistently touching your lights or the tent ceiling, you're running out of port capacity for the equipment you want to add, your fabric or frame is showing real wear (sagging poles, peeling reflective lining, failing zippers), or your growing goals have simply outgrown your current footprint.
Ready to choose your grow tent? Explore VIVOSUN grow tents by size, configuration, and growing needs to find a setup that fits your space today and leaves room for future upgrades.